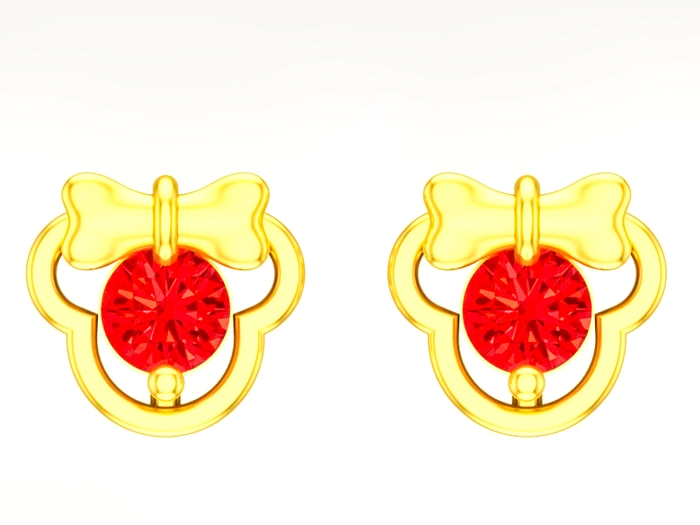


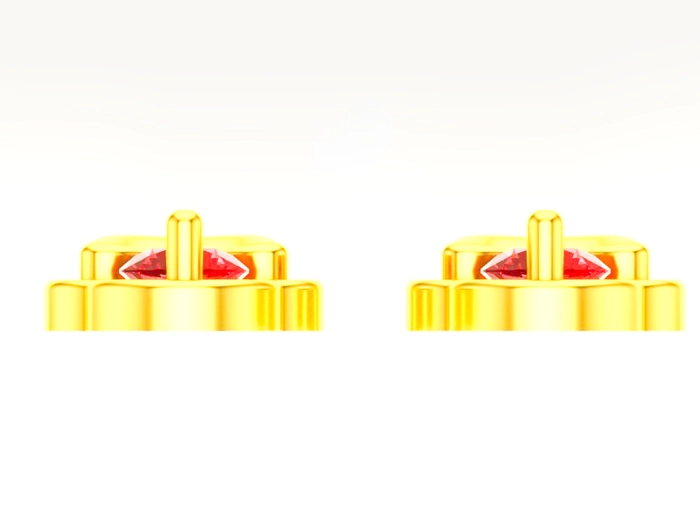
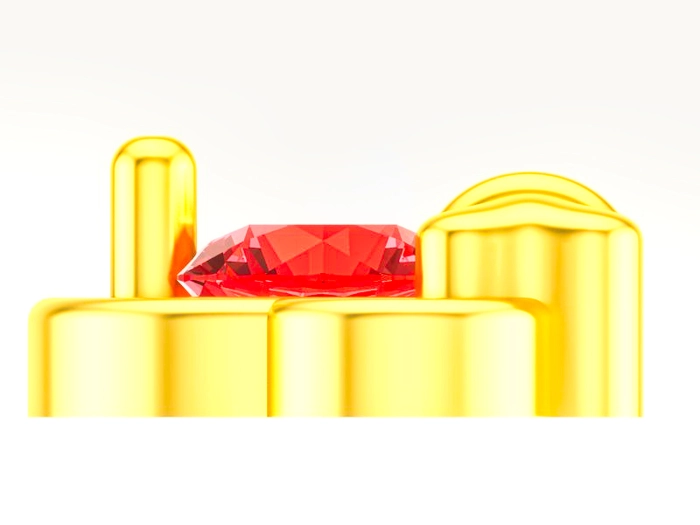

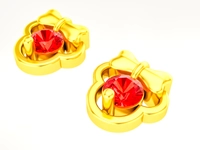
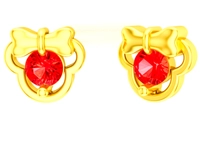
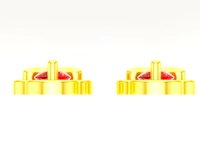
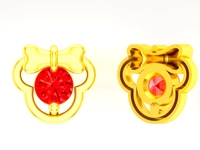
The Bowtie STUD (TOPS 010004)


Product details
If you're looking for a unique and eye-catching accessory to add to your wardrobe, then the Bowtie STUD 3D FILE is perfect for you! This sleek and modern bowtie is a must-have for anyone who loves to stand out and make a statement.
Features
- Made from high-quality 3D printed materials
- Lightweight and comfortable to wear for extended periods
- Comes in a variety of colors and patterns to suit your style
- Unique design that is sure to turn heads
Benefits
- Adds a touch of sophistication and elegance to any outfit
- Makes you look and feel confident and stylish
- Helps you stand out from the crowd and make a statement
- Perfect for any occasion, from formal events to casual outings
- Versatile and easy to match with any outfit
Social Proof
The Bowtie STUD 3D FILE has already received rave reviews from satisfied customers who have praised its unique design and high-quality construction. "I love my Bowtie STUD 3D FILE! It's so stylish and comfortable to wear," says one happy customer.
-
Downloading or creating a 3D file: You can find a wide range of 3D files available for download on various websites. Alternatively, you can create your own 3D files using 3D modeling software, such as Tinkercad, Blender, or Rhino.
-
Preparing the file: Before printing the 3D file, you will need to prepare it for 3D printing. This involves ensuring that the design is optimized for printing, meaning it is watertight and has the appropriate wall thickness for your chosen printing method.
-
Choosing a printing method: There are several different methods for 3D printing, and each has its own advantages and disadvantages. FDM printing is the most common method and is affordable and easy to use, but it may not be ideal for producing highly detailed jewelry. SLA printing uses a liquid resin that is cured with UV light to create very detailed prints, while SLS printing uses a laser to melt and fuse powder materials to create complex shapes.
-
Printing the design: Once the file is prepared and the printing method is chosen, you can begin printing the design. This can take anywhere from a few minutes to several hours, depending on the complexity of the design and the size of the jewelry piece.
-
Post-processing: Once the print is complete, you will need to do some post-processing to remove any support structures and smooth out any rough edges. Depending on the printing method used, this may involve sanding, polishing, or chemical treatments.
-
Assembly: Some jewelry pieces may require assembly after printing. This may involve using adhesives or fasteners to attach different parts together.
-
Final touches: Finally, you can add any finishing touches to the jewelry piece, such as adding clasps, polishing the surface, or adding gemstones or other embellishments.
Using 3D files for jewelry making is a great way to create unique and personalized pieces. It is an accessible and cost-effective way to produce high-quality designs and allows for a lot of flexibility in terms of design options. While it may require some technical knowledge and skill, it is a fun and rewarding process that can result in beautiful, one-of-a-kind jewelry.


